The content on this site may include affiliate links. As an Amazon Associate I earn from qualifying purchases. This means that, at zero cost to you, we will earn an affiliate commission if you click on one of the links and buy something.
New to gardening? 🫘 Growing green beans is the perfect way to start your self-sufficient canning garden! Learn how to grow them in containers, raised beds, or with a trellis—even from seed! 🌱
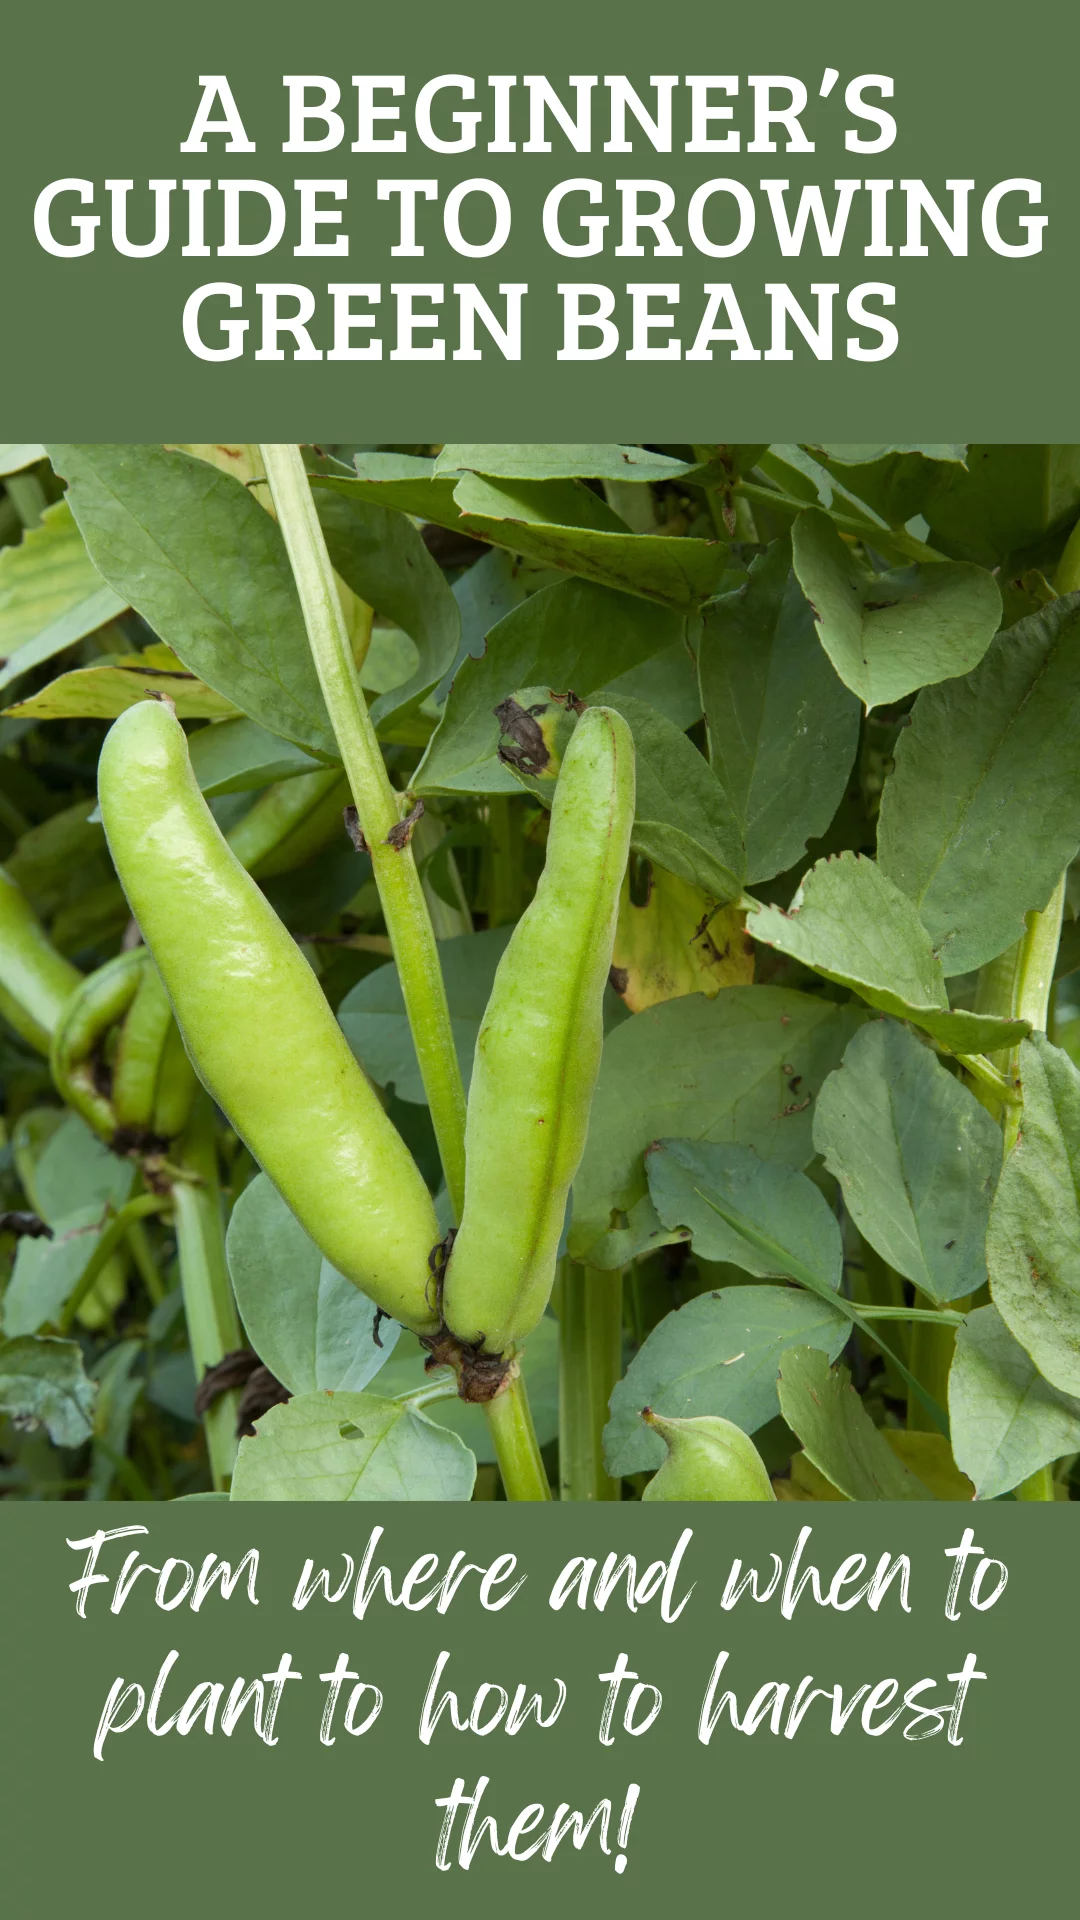
Growing Green Beans for Your Canning Garden
If you’re brand new to gardening—or just looking for something low-maintenance to grow for your canning stash—green beans are a fantastic place to start. They’re fast-growing, super productive, and you don’t need a huge yard (or even a yard at all!) to get a great harvest.
In this beginner’s guide, I’ll walk you through everything you need to know to grow green beans successfully, whether you’re working with a big backyard, a few raised beds, or just a container on your porch. Let’s dig in (with clean fingernails—no judgment here).
Why Green Beans Are a Great Starter Crop
Green beans are like the easygoing little sibling of the veggie garden world—no drama, low fuss, and they just keep giving. Whether you’re a gardening newbie or just testing the waters with a few pots on the patio, beans are a super rewarding choice.
Here’s why they’re a beginner favorite:
- They grow fast – Most varieties are ready to harvest in under two months, which is perfect if you’re the impatient type (raises hand).
- You don’t need a ton of space – Bush beans are compact and container-friendly, and pole beans grow up instead of out, so they’re great for small spaces.
- No special skills required – Beans grow best from seed, and they don’t need fancy fertilizers or complicated prep.
- They’re perfect for canning – Whether you’re pressure canning whole beans or turning them into crunchy pickled dilly beans, they’re a pantry superstar.
Bush Beans vs. Pole Beans: What’s the Difference?
Before you plant, you’ll want to decide what type of green bean to grow. And yes, there are two main kinds—bush beans and pole beans. They’re both delicious and easy to grow, but they do have a few key differences that can help you choose the right one for your garden setup.
🌿 Bush Beans
These little workhorses grow in neat, compact plants that don’t need any support. They tend to produce most of their beans all at once—great if you’re planning a big canning session or just want to harvest and be done.
- Ideal for containers and raised beds
- Harvest comes in a short window (perfect for batch canning)
- Generally lower-maintenance
🌿 Pole Beans
These are the climbers! Pole beans need something to grab onto—a trellis, a teepee, a garden fence—but in return, they’ll keep producing beans for weeks and weeks. That makes them a great pick if you want fresh beans throughout the season or smaller harvests to can bit by bit.
- Best for gardens with vertical space
- Keep producing as long as you keep picking
- Great for adding height and greenery to your garden
Still can’t decide? Grow both! Many gardeners do—they’ll plant bush beans for a quick early harvest and pole beans for a longer season of picking.
Where to Grow Green Beans: Containers, Trellises, and Raised Beds
The good news? Green beans are pretty flexible when it comes to where you grow them. As long as they get plenty of sun and warmth, they’re happy just about anywhere.
🪴 Growing Green Beans in Containers
- Best choice: Bush beans—they stay small and don’t need support.
- Use a container that’s at least 12 inches deep and has drainage holes.
- Fill it with high-quality potting mix and place it in a sunny spot (6–8 hours of sun per day is the sweet spot).
- Water regularly—containers dry out faster than garden beds.
Bonus: Containers are easy to move around if you’re chasing the sun or protecting plants from surprise spring chills.
🪜 Growing Pole Beans with a Trellis
- Pole beans need support from the get-go. Think: bamboo teepees, wooden stakes, string trellises, or even an old ladder!
- Set your trellis up before planting so you don’t disturb the roots later.
- Space seeds about 3–4 inches apart at the base of the support structure.
Pole beans love to climb, and watching them twirl their way up is honestly half the fun.
🌱 Growing in Raised Beds
- Both bush and pole beans do great in raised beds.
- Beds warm up faster in spring and drain well, which beans appreciate.
- Just be sure to plan for space—leave room between rows and make sure any trellises won’t shade out your other plants.
No matter which setup you choose, your green beans are going to thrive as long as they get sun, warmth, and water.
When to Plant Green Beans
Green beans are total sun-lovers and do not appreciate cold feet—er, roots. Timing your planting just right is key to getting those happy little sprouts up and growing fast.
⏰ The golden rule: Wait until all danger of frost has passed.
- Soil should be at least 60°F, but ideally closer to 70°F for fast germination.
- In most places, that means planting green beans a week or two after your last spring frost date.
👉 Not sure when that is?
Pop over to our USDA Planting Zones guide to find your zone and figure out your local frost dates.
💡 Want an extended harvest?
Try succession planting—sow a few new rows of bush beans every 2–3 weeks until mid-summer. That way, you’ll have a steady supply of beans for snacking, side dishes, and stocking your canning pantry.
And if you’re feeling unsure or your weather’s being weird (because of course it is), you can always double-check your planting timing with your local extension office. They’re garden rockstars, and we’ve got a quick guide on how to find yours.
How to Grow Green Beans from Seed
Good news: green beans are one of the easiest vegetables to start from seed—no fancy equipment, no fussy transplanting. You just pop the seeds in the ground and let them do their thing.
🫘 Getting Started
- No need to start indoors—green beans hate having their roots disturbed. Direct sowing is the way to go.
- For a little head start, you can soak seeds in water for 2–3 hours before planting. It’s optional, but it can speed up germination.
🌱 How to Plant
- Plant seeds about 1 inch deep and 3–4 inches apart.
- For bush beans: space rows about 18–24 inches apart.
- For pole beans: plant them at the base of your trellis or support structure, about 3 inches apart.
💧 Watering Tips
- Water gently after planting, keeping the soil moist (not soggy) until the seedlings pop up—usually within 7–10 days.
- Once established, beans need about 1 inch of water per week. Mulch can help keep moisture in and weeds out.
Beans are fast growers, and you’ll be surprised how quickly those little seedlings turn into lush, productive plants.
Can You Save Green Bean Seeds for Next Year?
Yes, you absolutely can save green bean seeds—as long as you grow the right kind. It’s a fun and frugal way to keep your garden going year after year.
✅ What kind of beans can you save seeds from?
- Stick to open-pollinated or heirloom varieties. These will grow true to type (meaning next year’s plants will be like this year’s).
- Avoid hybrids—those seeds might sprout, but you won’t know what you’re going to get (and it’s usually not great).
🌾 How to Save the Seeds
- Let some pods fully mature on the plant. They should be brown, dry, and rattle when shaken.
- Harvest the pods and let them dry out completely indoors for another week or two.
- Shell the beans and store them in a paper envelope or glass jar in a cool, dry place.
- Label your seeds! Future you will thank you.
✨ Bonus: Home-saved seeds can build up better resistance to your local conditions over time. Pretty cool, right?
How to Care for Green Beans While They Grow
Green beans are pretty chill once they’re up and growing, but a little TLC goes a long way—especially if you’re aiming for a bumper crop to can or freeze.
💧 Watering
- Beans need about 1 inch of water per week, more if it’s really hot or windy.
- Water at the base of the plant in the morning to help prevent disease.
- Containers dry out faster, so check daily if you’re growing in pots.
🌿 Mulching
- A light layer of mulch (straw, grass clippings, or shredded leaves) helps keep the soil moist and blocks weeds.
- Bonus: it also keeps your beans from getting splashed with soil during watering or rain.
🧪 Fertilizer (or Not!)
- Green beans are nitrogen-fixers—they work with friendly bacteria in the soil to make their own nitrogen.
- Too much added fertilizer can actually hurt more than help.
- If your soil is poor, use a balanced fertilizer once early in the season, but don’t go overboard.
🐛 Pests to Watch For
- Bean beetles, aphids, and the occasional slimy slug can show up.
- Hand-pick pests or spray with insecticidal soap (especially under the leaves).
- Keep an eye out for chewed leaves or eggs—catching problems early makes a big difference.
With just a little attention and regular picking (more on that in a sec), your green beans will reward you big time.
When and How to Harvest Green Beans
This is the fun part—time to pick those crunchy, fresh beans! But when’s the right time to harvest? Let’s break it down so you get the tastiest, most tender beans for your dinner plate or your canning jars.
🫛 When to Harvest
- Bush beans: Ready about 50–60 days after planting. They tend to mature all at once, so get your basket ready!
- Pole beans: Start producing around the same time but will keep going if you keep picking.
- Pick when the pods are firm, bright green, and about 4–6 inches long.
- Beans should be plump but not bulging with seeds—if they feel tough or papery, they’re past their prime.
✂️ How to Harvest
- Use two hands—hold the plant with one and gently pull or snip the bean off with the other to avoid damaging the stem.
- Check every day or two—beans grow fast and can get overripe before you know it.
🍽️ Pro tip: The more you pick, the more the plant produces. Don’t be shy—grab those beans early and often!
Troubleshooting Common Green Bean Problems
Even the easiest crops have their moments—but don’t worry, most green bean issues are easy to fix once you know what to look for.
😬 Poor Germination
- Likely culprit: Cold, wet soil or seeds planted too deep.
- Fix: Wait until the soil is at least 60°F before planting, and stick to that 1-inch depth.
💛 Yellowing Leaves
- Could be: Overwatering, poor drainage, or lack of nutrients.
- Fix: Check for soggy soil, water less often, and use a light compost tea or balanced fertilizer if needed.
🐌 Chewed Leaves or Holes
- Likely pests: Slugs, beetles, or caterpillars.
- Fix: Hand-pick pests, try neem oil or insecticidal soap, and use crushed eggshells or copper tape for slugs.
😕 No Beans Forming
- Possible causes: Too much nitrogen (lots of leaves, no pods) or poor pollination.
- Fix: Skip the high-nitrogen fertilizers, and plant flowers nearby to attract pollinators.
🍂 Wilting or Spotty Plants
- Could be: Fungal disease or root rot.
- Fix: Water at the base (not overhead), space plants for good airflow, and rotate crops each year.
Catch issues early and your bean plants will usually bounce right back.
Need Local Help? Your Extension Office Has Your Back
Every growing region has its quirks—soil type, weather patterns, pest issues—and sometimes it’s hard to know what works best in your area. That’s where your local extension office comes in!
These offices are usually run through universities, and they’re packed with helpful info on:
- Best planting times for your exact location
- Local pest and disease advice
- Soil testing services
- Regional variety recommendations
📍 Not sure where to find yours? Check out our How to Find Your Local Extension Office guide—it’s super easy, and they’re usually thrilled to help new gardeners.
What to Do With All Those Beans
Once your bean plants start producing, they don’t hold back. Here’s how to put them to good use:
- Pressure can them – Green beans are low-acid, so they need pressure canning (but they store beautifully!).
- Pickle them – Try dilly beans for a crunchy snack with a kick.
- Freeze them – Quick blanch, cool, and freeze in zip-top bags for easy dinners later.
- Share them! – Neighbors and friends are always happy to take a handful.
Ready, Set, Grow! 🫘
Green beans really are one of the best crops for beginner gardeners—they’re quick to grow, easy to care for, and super rewarding (especially when you’re staring at a shelf full of home-canned jars later in the season). Whether you’re planting in a pot on the patio, building a bean-covered trellis, or filling up a raised bed, you’ve got everything you need to get started.
Remember:
✔️ Pick the right type (bush or pole)
✔️ Wait for warm soil
✔️ Keep them watered and picked
✔️ Don’t be afraid to ask for help from your local extension office
And most importantly—have fun with it! You’re learning, growing, and stocking your pantry one bean at a time. 💚
Got more canning garden questions? Check out our full Planning Your Canning Garden series and don’t forget to peek at our Beginner’s Canning Guide too!