The content on this site may include affiliate links. As an Amazon Associate I earn from qualifying purchases. This means that, at zero cost to you, we will earn an affiliate commission if you click on one of the links and buy something.
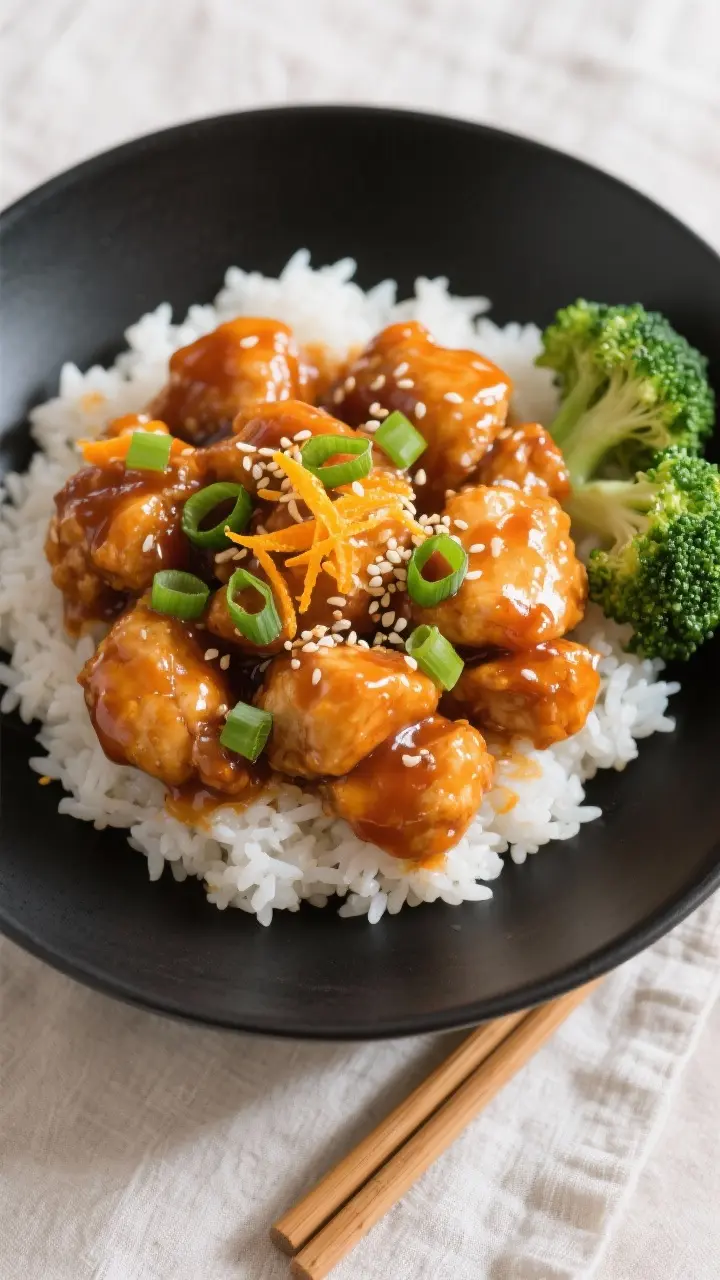
Orange chicken is the kind of dish that gets everyone excited for dinner. It’s crispy, saucy, and full of bright, citrusy flavor with a gentle kick. You get that perfect mix of sweet and savory, with the orange sauce clinging to bite-sized pieces of chicken. It feels special but is easy enough for a weeknight. If you love takeout-style comfort food, this version delivers big flavor without being fussy.
What Makes This Special
This orange chicken balances bold flavors without going overboard on sweetness. The sauce uses real orange juice and zest, which gives it a fresh, natural taste.
The chicken turns out crisp on the outside and juicy inside, thanks to a simple cornstarch coating. You can make it in a skillet—no deep fryer needed. Plus, it’s flexible: you can make it spicier, lighter, or even gluten-free with easy swaps.
What You’ll Need
- Chicken: 1.5 pounds boneless, skinless chicken thighs or breasts, cut into 1-inch pieces
- Marinade/Coating:
- 1 large egg
- 1/2 cup cornstarch
- 1/4 cup all-purpose flour (or use more cornstarch for gluten-free)
- 1/2 teaspoon salt
- 1/2 teaspoon black pepper
- Orange Sauce:
- 1 cup orange juice (fresh is best)
- 1 tablespoon orange zest
- 3 tablespoons soy sauce (use tamari for gluten-free)
- 2–3 tablespoons sugar or honey (adjust to taste)
- 2 tablespoons rice vinegar (or white vinegar)
- 2 cloves garlic, minced
- 1 teaspoon fresh ginger, grated (optional but recommended)
- 1–2 teaspoons chili garlic sauce or sriracha (optional, for heat)
- 1 tablespoon cornstarch mixed with 2 tablespoons water (slurry)
- 1–2 teaspoons toasted sesame oil
- For Cooking:
- Neutral oil for pan-frying (such as canola or vegetable oil)
- 2–3 green onions, sliced (for garnish)
- Sesame seeds (optional)
- To Serve:
- Steamed rice or cauliflower rice
- Steamed broccoli or snap peas (optional)
Instructions
- Prep the chicken: Pat the chicken dry and cut into even pieces.Season with salt and pepper. In a bowl, whisk the egg, then toss in the chicken to coat.
- Coat for crispiness: Mix cornstarch and flour in a shallow dish. Dredge the egg-coated chicken in the mixture, shaking off excess.The coating should be even and light.
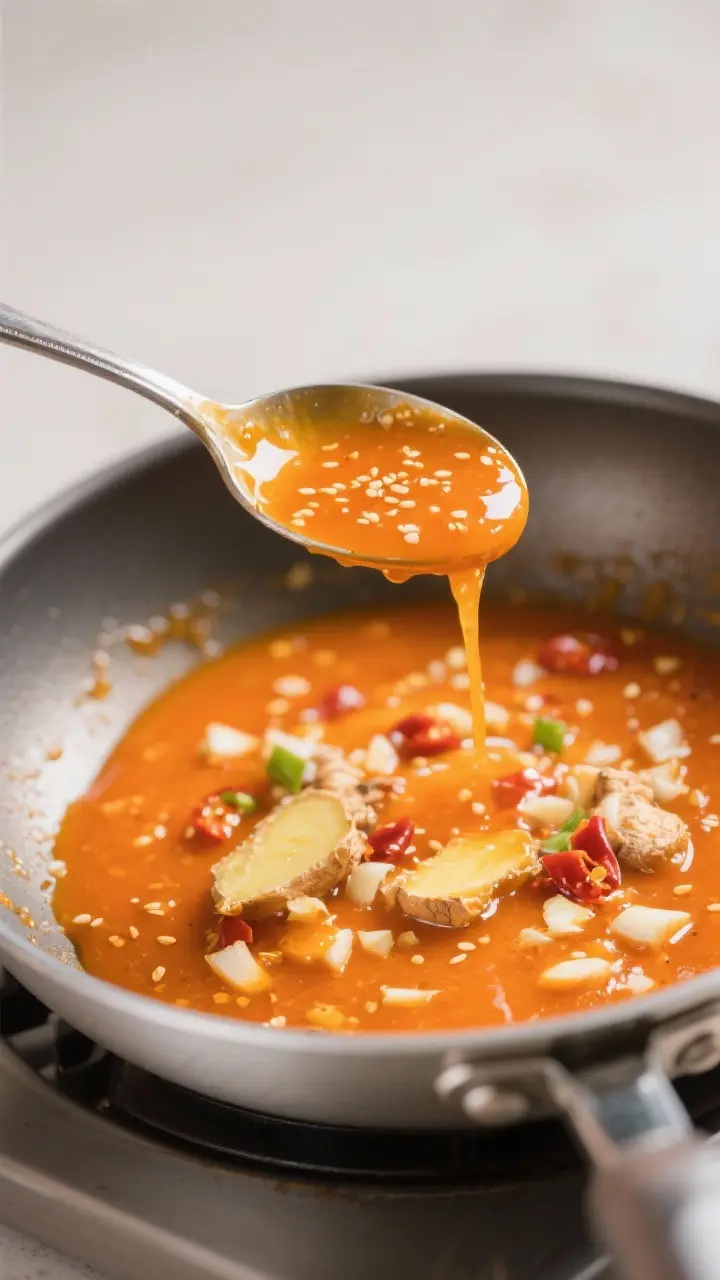
- Whisk the sauce: In a bowl, combine orange juice, zest, soy sauce, sugar, vinegar, garlic, ginger, and chili sauce if using. Taste and adjust sweetness or salt as needed.
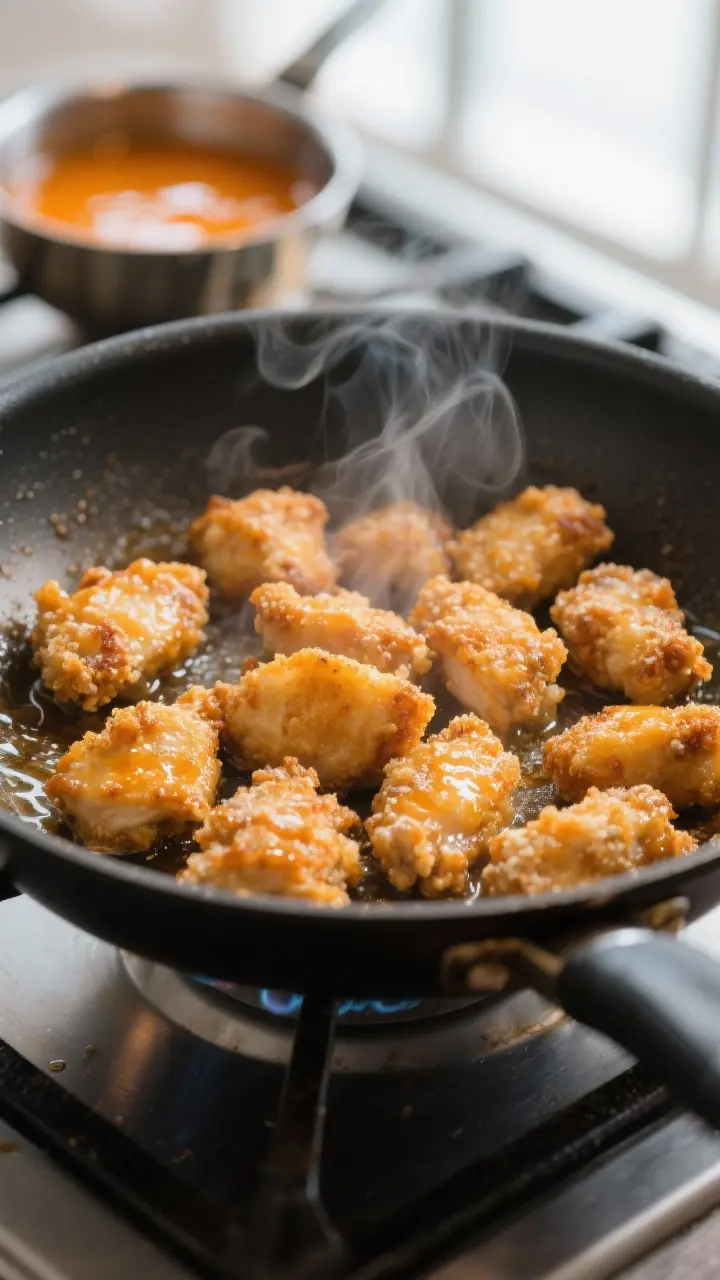
- Pan-fry the chicken: Heat 1/4 inch of oil in a large skillet over medium-high. Add chicken in a single layer, working in batches.Cook 3–4 minutes per side until golden and cooked through. Set on a wire rack or paper towels.
- Reduce the sauce: Pour the sauce into a clean skillet or wipe the pan and reuse it. Bring to a simmer.Stir in the cornstarch slurry and cook 1–2 minutes until thick and glossy.
- Combine and finish: Add the chicken to the sauce and toss to coat. Drizzle in sesame oil. Cook 1 minute more to let the coating absorb the sauce slightly.
- Garnish and serve: Top with green onions and sesame seeds.Serve hot over rice with a side of veggies.
How to Store
- Refrigerator: Store leftovers in an airtight container for up to 3 days. The coating softens but still tastes great.
- Reheating: For best results, warm in a skillet over medium heat with a splash of water to loosen the sauce. Microwave in short bursts if you’re in a hurry.
- Freezer: Freeze the cooked chicken (without rice) for up to 2 months.Thaw overnight and reheat on the stove with a bit of extra orange juice to refresh the sauce.
- Make-ahead tip: You can fry the chicken ahead and refrigerate. Reheat it in the oven at 400°F (200°C) for 8–10 minutes, then toss in fresh sauce on the stove.
Benefits of This Recipe
- Fresher flavor: Real orange juice and zest give a bright, clean taste that bottled sauces can’t match.
- Customizable: Adjust the sweetness and heat to suit your taste. It’s easy to lighten up or make gluten-free.
- Budget-friendly: Uses pantry staples and simple ingredients.Cheaper than ordering takeout for a family.
- Weeknight-friendly: Ready in about 35–40 minutes with basic prep and one main pan.
- Great texture: The cornstarch coating gives a crisp bite that soaks up sauce without going soggy too fast.
Common Mistakes to Avoid
- Overcrowding the pan: If pieces touch, they steam instead of crisp. Cook in batches and keep the heat steady.
- Skipping the slurry: The cornstarch slurry is what makes the sauce cling. Without it, the sauce will be thin and runny.
- Using low heat: Medium-high heat is key for color and crunch.If the oil isn’t hot enough, the coating absorbs oil and turns heavy.
- Overcooking the sauce: Once thick, turn the heat down. Boiling too long can make it gummy or overly reduced.
- Uneven chicken pieces: Keep pieces the same size so they cook at the same rate and stay tender.
Alternatives
- Baked version: Toss coated chicken with 2 tablespoons oil and bake at 425°F (220°C) on a parchment-lined sheet for 18–22 minutes, flipping once. Broil 1–2 minutes for extra color, then toss in sauce.
- Air fryer: Spray the basket, arrange coated chicken in a single layer, and air fry at 390°F (200°C) for 10–12 minutes, shaking halfway.Toss in sauce.
- Healthier sauce swap: Use honey or maple syrup instead of sugar, and reduce to 1–2 tablespoons. Add extra zest for brightness.
- Protein variations: Try shrimp (cook quickly, about 2 minutes per side), tofu (press and cornstarch-coat), or cauliflower florets for a vegetarian twist.
- Gluten-free: Use cornstarch only for coating, and swap soy sauce for tamari or coconut aminos.
- Extra orange: Add segments of fresh orange at the end for pops of juicy sweetness.
FAQ
Can I make the sauce ahead of time?
Yes. Mix and refrigerate the sauce (without the slurry) for up to 3 days.
Warm it, then add the cornstarch slurry and thicken right before serving.
Why isn’t my chicken crispy?
The oil likely wasn’t hot enough or the pan was crowded. Make sure the oil shimmers before adding chicken and leave space between pieces. A wire rack for draining also helps.
Is orange zest necessary?
It’s not required, but it makes a big difference.
Zest packs concentrated citrus flavor that lifts the sauce. If skipping, use a touch more juice and a little extra vinegar for brightness.
Can I use store-bought orange juice?
Absolutely. Choose not-from-concentrate for the best taste.
If it’s very sweet, cut the sugar in the recipe and adjust to taste.
How do I keep the coating from falling off?
Pat the chicken dry, coat evenly, and let it rest a few minutes before frying. Don’t move the pieces too soon—let a crust form before flipping.
What if I don’t have rice vinegar?
Use white vinegar or apple cider vinegar. Start with a little less and add to taste since they can be sharper.
Can I make it less sweet?
Yes.
Reduce the sugar to 1 tablespoon and bump up the vinegar slightly. More zest and a splash of extra soy sauce also balance the sauce.
In Conclusion
Orange chicken is a simple way to bring a takeout favorite to your own kitchen. With fresh citrus, a crisp coating, and a glossy sauce, it’s crowd-pleasing and adaptable.
Once you try it, you’ll see it’s both comforting and bright, with just the right amount of kick. Keep this recipe handy—it’s a reliable go-to for busy nights and relaxed weekends alike.

Orange Chicken - Crispy, Tangy, and Better Than Takeout
Ingredients
- Chicken: 1.5 pounds boneless, skinless chicken thighs or breasts, cut into 1-inch pieces
- Marinade/Coating: 1 large egg
- 1/2 cup cornstarch
- 1/4 cup all-purpose flour (or use more cornstarch for gluten-free)
- 1/2 teaspoon salt
- 1/2 teaspoon black pepper
- Orange Sauce: 1 cup orange juice (fresh is best)
- 1 tablespoon orange zest
- 3 tablespoons soy sauce (use tamari for gluten-free)
- 2–3 tablespoons sugar or honey (adjust to taste)
- 2 tablespoons rice vinegar (or white vinegar)
- 2 cloves garlic, minced
- 1 teaspoon fresh ginger, grated (optional but recommended)
- 1–2 teaspoons chili garlic sauce or sriracha (optional, for heat)
- 1 tablespoon cornstarch mixed with 2 tablespoons water (slurry)
- 1–2 teaspoons toasted sesame oil
- For Cooking: Neutral oil for pan-frying (such as canola or vegetable oil)
- 2–3 green onions, sliced (for garnish)
- Sesame seeds (optional)
- To Serve: Steamed rice or cauliflower rice
- Steamed broccoli or snap peas (optional)
Instructions
- Prep the chicken: Pat the chicken dry and cut into even pieces. Season with salt and pepper. In a bowl, whisk the egg, then toss in the chicken to coat.
- Coat for crispiness: Mix cornstarch and flour in a shallow dish. Dredge the egg-coated chicken in the mixture, shaking off excess. The coating should be even and light.
- Whisk the sauce: In a bowl, combine orange juice, zest, soy sauce, sugar, vinegar, garlic, ginger, and chili sauce if using. Taste and adjust sweetness or salt as needed.
- Pan-fry the chicken: Heat 1/4 inch of oil in a large skillet over medium-high. Add chicken in a single layer, working in batches. Cook 3–4 minutes per side until golden and cooked through. Set on a wire rack or paper towels.
- Reduce the sauce: Pour the sauce into a clean skillet or wipe the pan and reuse it. Bring to a simmer. Stir in the cornstarch slurry and cook 1–2 minutes until thick and glossy.
- Combine and finish: Add the chicken to the sauce and toss to coat. Drizzle in sesame oil. Cook 1 minute more to let the coating absorb the sauce slightly.
- Garnish and serve: Top with green onions and sesame seeds. Serve hot over rice with a side of veggies.
Printable Recipe Card
Want just the essential recipe details without scrolling through the article? Get our printable recipe card with just the ingredients and instructions.